Small screen.
Big playground.
Games. Notes. Books. Tools.
Little things, thoughtfully tucked away.
No feeds.
No notifications.
No endless scrolling.
Just you and your Toybox.
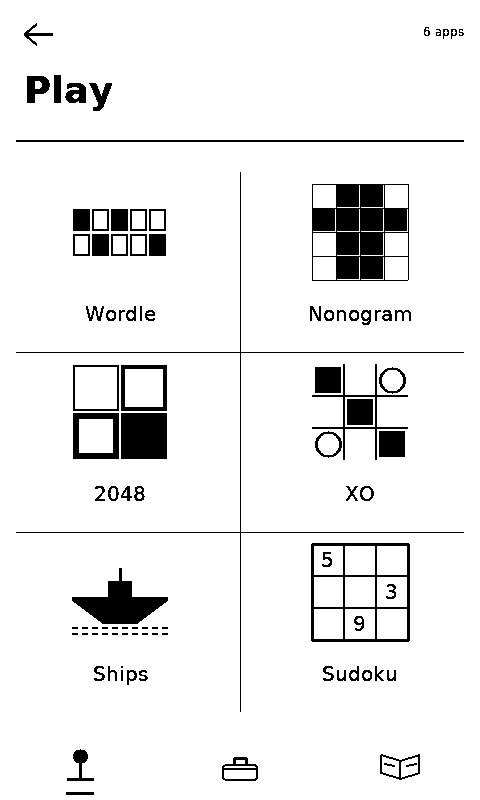
Explore
A little bit of everything.
Everything you need, nothing you don't.
- Games
- Take a break.
- Notes
- Get it out of your head.
- Books
- Pick up where you left off.
- Recipes
- Keep your hands free.
- Flashcards
- Learn a little at a time.
- Tools
- Handy things, always nearby.
Inside
Pick something.
Every screen here is drawn by the device itself. Show me six others.
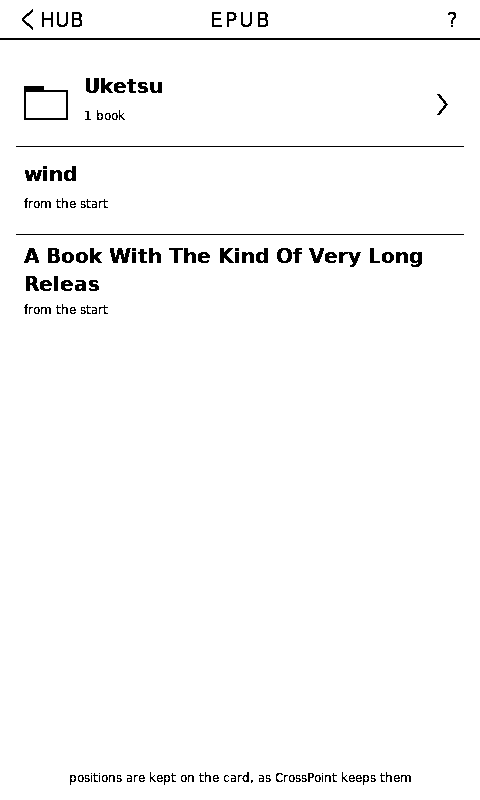
Read anywhere.
Bring your EPUBs and comics. Pick a book, pick a page, keep reading — and your place is kept on the card, not in an account.
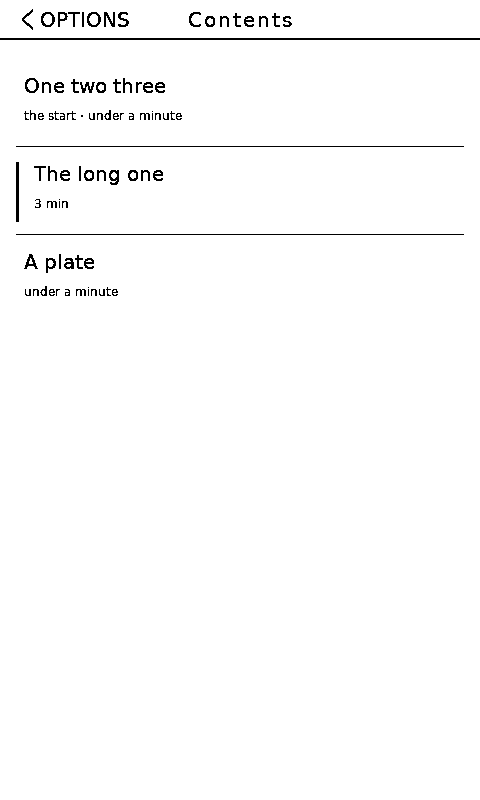
The book’s own contents.
Chapters as the publisher named them, each with how long it runs. Time for another, or time for bed.
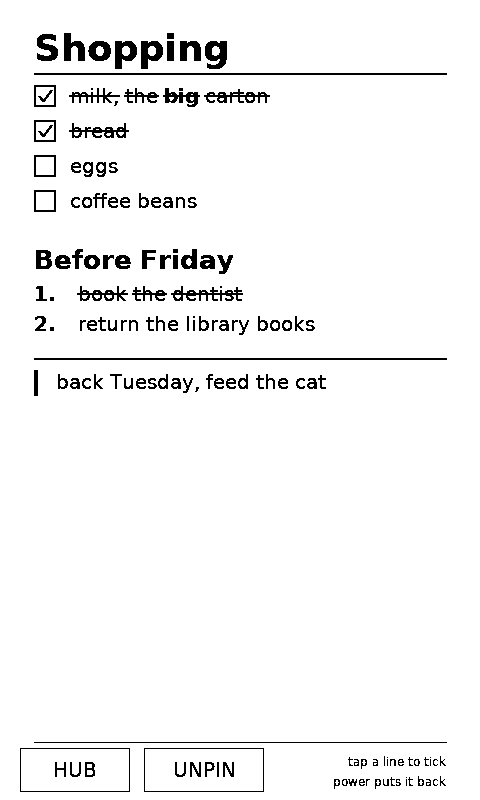
Get it out of your head.
Write something down. Pin it. Come back when you need it. Nothing gets lost in a feed.
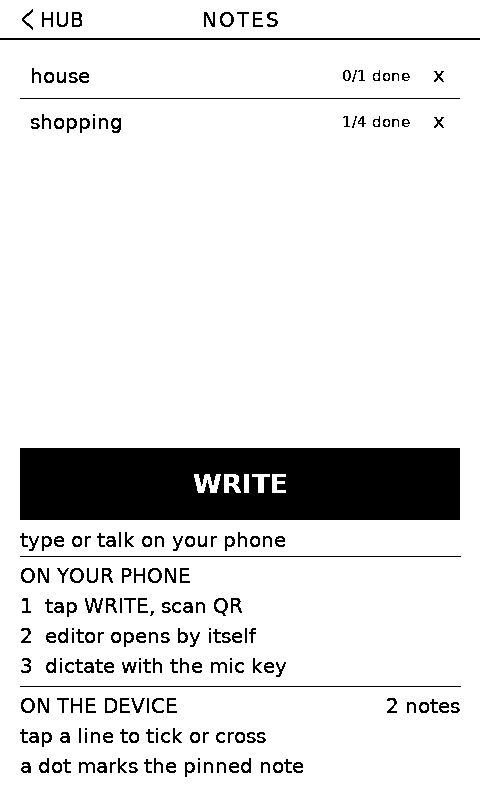
Type on your phone.
Your phone is the keyboard, Toybox is the display. Scan the code, type or dictate, and it lands on the glass.
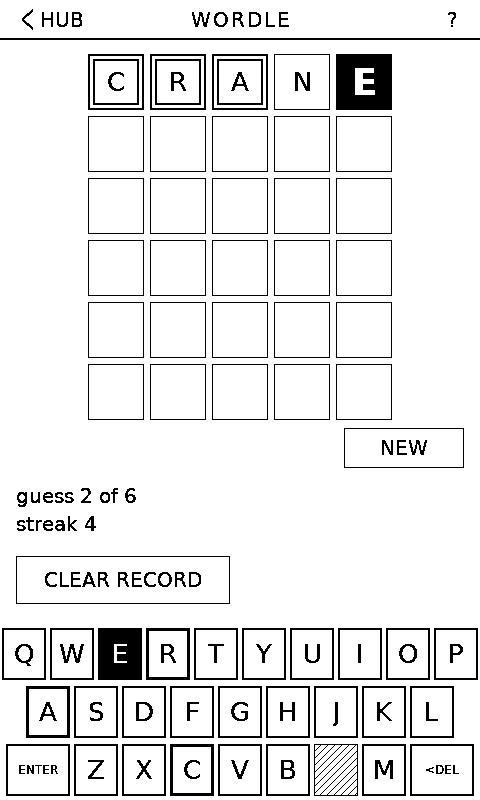
Guess the word.
Six tries. One word. Can you crack it? A new one whenever you want one.
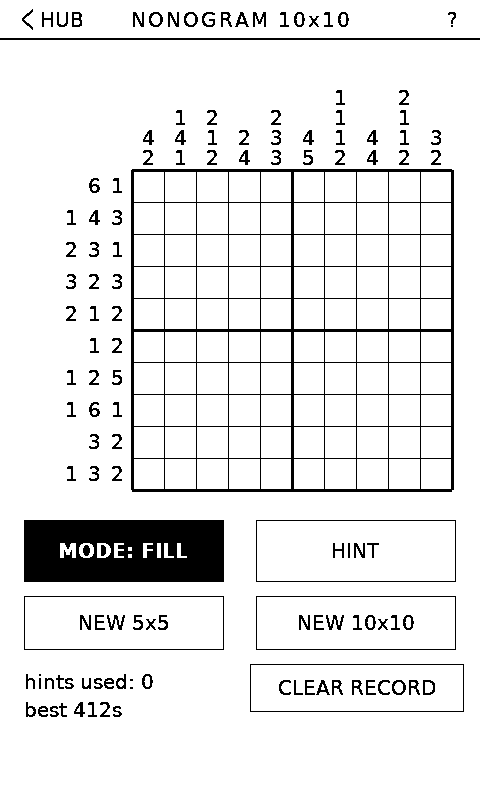
Pixel by pixel.
Follow the numbers, reveal the picture. Take your time.
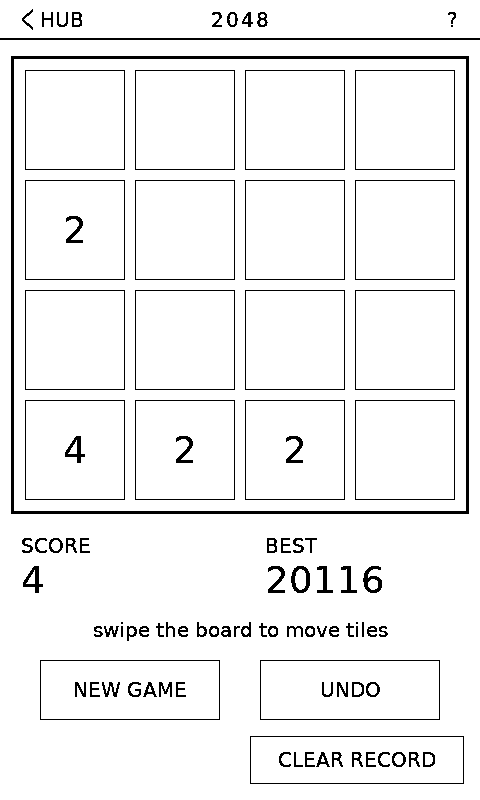
Keep merging.
Combine matching tiles, chase the 2048. One more move.
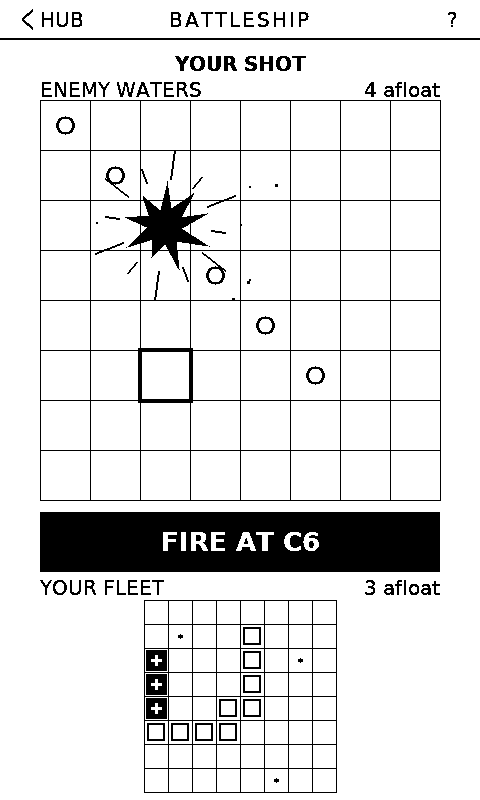
Find their fleet.
Place your ships, take your shots, sink them all. Fire when ready.
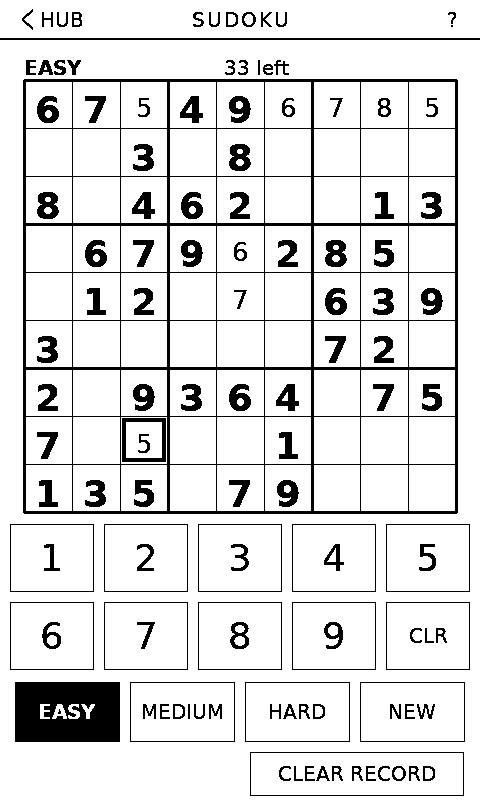
Clear your head.
Fill the grid. Find the pattern. Don’t repeat a number. Easy to learn, hard to put down.
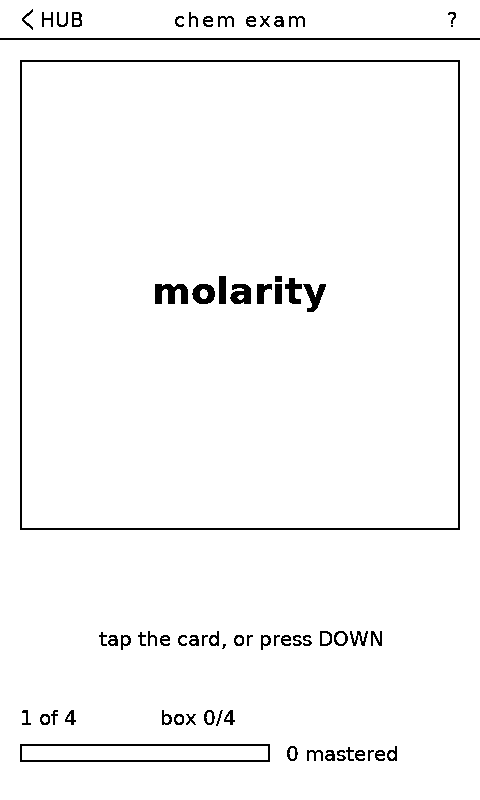
Learn one card at a time.
Make decks, review cards, watch them stick. A few minutes goes a long way.
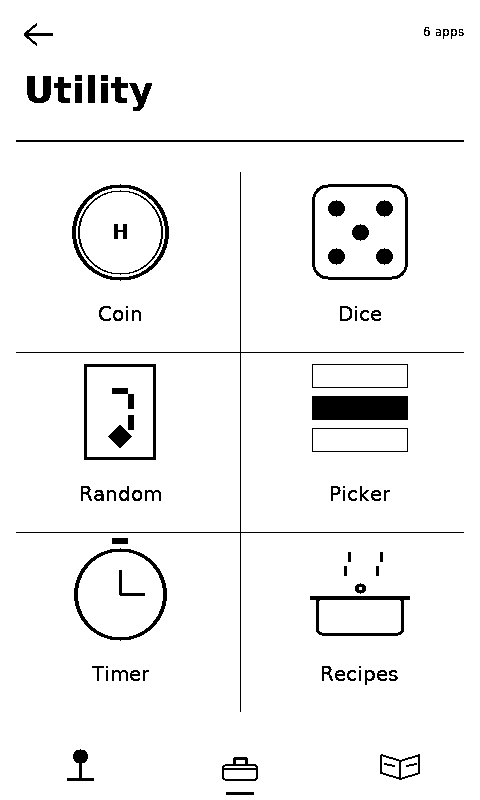
Small tools. Handy moments.
Coin flip. Dice. Cards. Random numbers. Timer. Stopwatch. And a list you can’t decide from — give it the options, let it pick. No searching required.
E-paper
Made for things that stay.
Toybox keeps your last screen visible while the device sleeps. Useful information doesn’t need to disappear just because the battery does.
See it. Leave it. Come back later.
Put it where you can see it. Pin a note, a list, a reminder, a recipe — anything you want close by. Tick a line as you go and the tick is still there when you come back.
Make it yours. Custom wallpapers, custom lock screens, your own books and decks and recipes. Any app you never use can be hidden.
In your language. English · ไทย · 中文 · 日本語 · 한국어 · Tiếng Việt
Filling it
Bring your own.
EPUBs go straight on the card and open as they are. Comics are the harder case — a webtoon is one strip a mile long, a manga page is wider than the panel — so there is a desktop tool for those.
Toybox
Slicer takes .cbz chapters, loose images or an
EPUB and writes pages at the panel’s own 480×800. For a
webtoon it stitches the slices back into one strip and re-cuts it,
snapping every cut to a blank gutter — so a page never lands
through a face or a speech bubble.
It does sleep art and wallpapers in batches too. For one picture, the wallpaper maker here is quicker.
Notes and flashcard decks travel on the card as well. The
note and flashcard editor writes both on a
keyboard and downloads the file; drop it in /notes or
/decks and press CARD on the device.
Install
Get Toybox running.
No complicated setup. No app on your computer.
- Connect your Sticky. Use a USB-C cable that carries data — a charging cable will not do, and that is the commonest reason nothing appears. Nothing showing up?
- Add a language pack if you need one. The common characters
are already in the firmware; these add the rest.
- Let it install. Reading which build is here…
When the browser asks about erasing the device, leave the box unchecked. Unchecked, an install writes the firmware and nothing else — notes, settings, saved pages, decks and font packs all survive. Ticked, they do not.
UPDATE is the one to use for every build after your first. FIRST INSTALL adds the bootloader and partition table — needed once on a new device, or to rescue one that will not boot.
What changed
- 1.4.3
- BLANK is gone from the lock screen — a panel showing nothing is what a flat battery looks like, and GOODBYE says it better. A device set to it now shows GOODBYE.
- 1.4.2
- How faint the page goes behind the lock picture is now yours to set: tap PAGE again to step it — as you left it, softened, at half, or a ghost.
- 1.4.1
- Fixes PAGE drawing nothing over the page when the lock picture was a grey one taken from a card, and lightens the page behind it so a line drawing laid on top actually reads. The Lock screen page now says which kind of picture is stored.
- 1.4.0
- The lock screen can keep the page you were reading. E-paper holds its last frame anyway, so choosing PAGE under Lock screen leaves it there — knocked back to a soft grey, with your lock picture laid over the top. A picture’s white has always been transparent; now there is something underneath it. Only from a book at a page: anywhere else it shows the cover, as before.
- 1.3.1
- Fixes pictures coming out as their own
negative — a CrossInk
.pxcstores brightness, not ink, and 1.3.0 read it upside down. - 1.3.0
- Illustrations in an EPUB now draw straight from the book when it has been through CrossInk’s optimizer — it leaves every picture in there already rendered for this panel, so the “no picture prepared for it” page is gone without converting anything first. A book set in a font off the card is set in that font's own sizes. A family is cut at eight or ten of them and the reader only ever reached three, so Options → Text now steps through the sizes the family actually ships, named by the number on the file. There is one control for what a book is set in rather than two that could disagree, and the global font setting says out loud that a face off the card takes a moment to open. Card fonts are also prepared the first time they are used — cut down to the cuts and letters this panel draws, and kept beside the font as a small copy — so an app opens about three times faster after that. Cyrillic, Vietnamese and emoji come off the built-in face instead, the way Thai already did.
- 1.2.0
- Each app can have its own font. Settings → Font now offers five: the device's own text, and one each for books, notes, flashcards and recipes. An app's face covers what you put there — the page, the note, the card, the step — and never the menus around it, so leaving a book does not leave the settings page in the book's font. Anything not chosen is the built-in face, which also fills in Thai, Chinese, Japanese and Korean underneath whatever is on top.
- 1.1.1
- Card fonts are found in the shapes people
actually produce, not only the one the documentation describes: a
family folder, a folder of the same name nested inside it (what
unzipping
Bitter.zipinto aBitterfolder leaves behind), or the files lying loose in/.fonts. The empty page now shows the layout it is looking for instead of one line of advice. - 1.1.0
- The device can be read in a font off the SD
card. Settings → Font lists whatever families the card
carries in
/.fonts, in CrossInk's.cpfontformat — two dozen families are published for it, with a web builder and a converter, so nothing new had to be invented and one card serves both firmwares. A family's sizes are matched to this panel by the line height each file states rather than by the number in its name. Fonts stay on the card and the built-in face is always the first row, so it is one tap back. Thai, Chinese, Japanese and Korean keep drawing from the built-in tables underneath, since those packs are Latin, Cyrillic and punctuation only. Also: the how-to cards button moved to the apps page, which is the page about apps. - 1.0.5
- The time now appears as soon as it is sent, without the restart this device has always needed after an update or a fresh install. Its clock chip refuses to be read until its oscillator is genuinely running, which takes a moment after a flash; the firmware used to ask once, get refused and show nothing, and the time only surfaced on the next boot. It now waits for the chip, says so honestly if the chip never starts, and the service screen reports whether the clock is running rather than only whether it answers.
- 1.0.4
- Settings has a Clock row, under PHONE. The device has no internet and takes the time from a phone; until now that only happened as a side effect of sending it a note, which nobody could be expected to guess. The row shows the time the device believes — or says it has never been told one — and its page sends the time as soon as the phone opens it. The device keeps the digits, not the timezone, so send again after travelling.
- 1.0.3
- The options panel in each reader and in the recipe app shows the time in its top corner. It is not on the reading page itself on purpose: the panel is redrawn every time it is opened, so its clock is true, while a page can sit unchanged for an hour. Nothing is shown on a device whose clock has never been set.
- 1.0.2
- Chapter names on the book shelf are no longer cut short (“Chapter 7: Frie”) when read back from the card. Nothing on the card needs redoing — the names were always stored whole.
- 1.0.1
- A pinned note on the sleeping screen no longer shows a clock: the panel froze when the device slept, so the time was hours old by morning. The temperature and battery stay, since those are still roughly true. The note’s own name goes too — the note above it already says that.
- 1.0.0
- The first release under ordinary version numbers — the entries below used beta numbering, one per build. This one names the chapter you are in everywhere it is shown: the shelf, the reader’s options panel and the footer at the bottom of a page, in the book’s own words rather than by counting files inside it.
- beta.63
- The book shelf says where you stopped, in the book’s own words — “Chapter 1: Maomao — page 1 of 14” — and says nothing at all under a book you have not opened yet. The reader’s options panel names the chapter too, instead of numbering it. Books whose contents cannot be read fall back to the chapter’s own first words, on both screens.
- beta.59
- The flashcard import screen shows the link as soon as your phone joins, instead of waiting to be asked. On this site, the note editor's formatting buttons no longer leave stray marks behind when you change your mind.
- beta.58
- Flashcard bars show how far a deck has come rather than how many cards are finished, so they move after every session. The device plays a short phrase when it comes up on new firmware — a longer one the very first time.
- beta.57
- Notes and flashcard decks can be read
straight off the SD card:
.mdor.txtin/notes,.tsv,.csvor.txtin/decks. The editor on this site writes both. - beta.56
- Recipes gained text size, line spacing and screen rotation, using the same controls the readers do. Vulgar fractions draw properly instead of as boxes.
- beta.55
- The smallest interface text went from 16 to 18 px.
Every build keeps your notes, decks, settings, saved games and reading positions when it is installed with UPDATE. The full history is the commit log.
Getting started
Your first five minutes.
Step two is the one worth doing before anything else — it takes a minute and it saves the awkward ones.
- Let it settle. The first boot takes a few extra seconds while it sets up storage.
- Hold either side button while it powers on. That reaches the service screen, which says what the board answered on each bus and can straighten the screen or the touch if your unit disagrees with mine. There is a tickable checklist for a phone held next to the device.
- Pick a game. Start with something familiar.
- Pin a note. Open Notes → Write, scan the code with your phone, and type. Then pin it and pull the power.
- Make it yours. Change the wallpaper and settle in.
If something goes wrong
Help.
No serial port showing up?
- Use a data-capable USB-C cable, not a charging cable.
- On Windows, install the CH343 driver. The Sticky uses a CH34x serial chip.
- Still nothing? Hold the power button while plugging in, then try Install again.
Prefer the command line?
Update, keeping everything:
esptool --chip esp32s3 write_flash 0x10000 toybox-app.bin
First install (also writes bootloader and partition table; note this one resets the device's settings):
esptool --chip esp32s3 write_flash 0x0 toybox-full.bin
Download toybox-app.bin or toybox-full.bin.
Will an update wipe my notes?
No. Every part is written at its own offset and the gaps between them are never touched: settings and saved reading pages live in NVS, notes and decks and pictures in the filesystem, and neither is in the firmware's way. The one thing that does wipe them is ticking the erase device box in the browser's dialog, which is why it is worth reading that dialog rather than clicking through it.
There’s always room for one more thing.
A game.
A book.
A recipe.
A thought.
Put it in the Toybox. We’ll keep it here.
Small screen. Big playground.
Install it